New website, who dis?
Here, you’ll find:
- Different types of site migrations
- Tips for planning a site migration
- Steps to take during the migration process
- Common migration missteps to avoid
Whether you’re opting for a more secure site, getting a design refresh, or moving to a new CMS, there are plenty of reasons to take on a site migration. But this project is one that shouldn’t be taken on lightly.
Migrating your site is a technical, multi-step process. A misstep can result in broken links, a poor mobile experience, and loss of significant website SEO you’ve worked hard to build.
But before you break into a cold sweat, don’t worry. Jessica Weber, one of our senior SEO & SEM managers, is here to help break down just a few of the big steps to take for a successful site migration.
Different types of site migrations
First things first: It’s important to know that site migration comes in many different forms. For example, a migration from an “http” to “https” URL is completely different from a redesign, which is different from a domain migration.
The nature of a site migration is often a complicated and technical process. Because of this, it’s crucial to have a detailed plan for how to tackle this project before, during, and after the migration itself.
Other types of site migrations include:
- Moving to a new domain
- Changing URLs
- Updating navigation or architecture
- Adding mobile functionality
- Migrating part of a website
- Moving to a new host or server
- Moving to a new CMS or framework
- Website redesign or template change
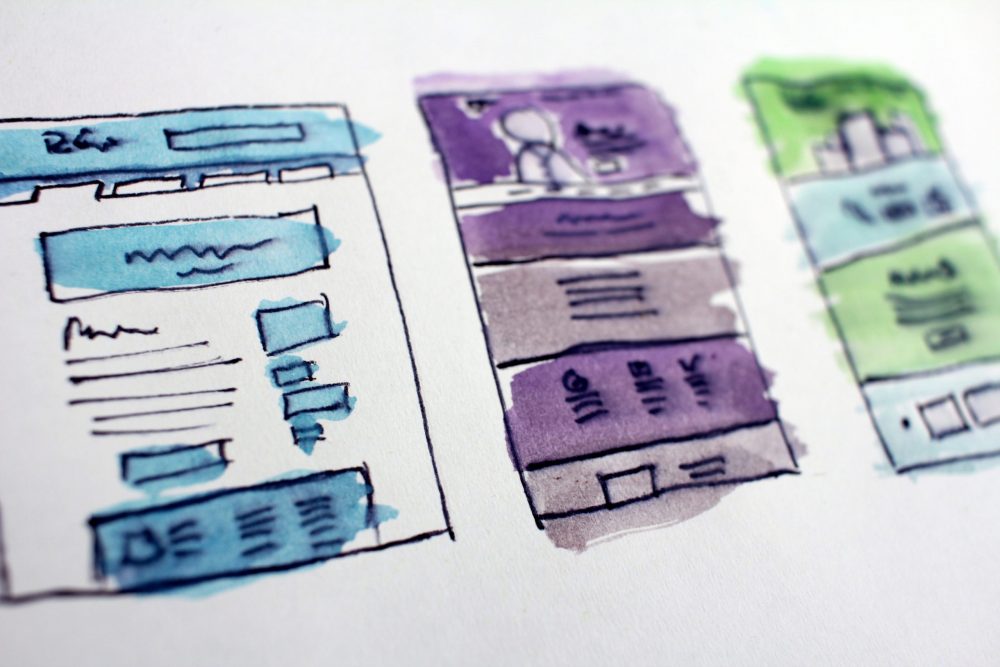
When you’re working on a site migration, it’s wise to execute and test everything in a staging environment before it goes live on your actual website. (Image via Unsplash)
Before the site migration
Jessica says the “before” stage is the most important phase of a site migration. That’s why our #1 piece of advice for site migration is to plan ahead.
One of the first steps you take should be to create a site mapping document. This includes a list of your URL redirects. It works from the old site to the new site to make sure you’re passing all of your site equity onto the new site so you don’t lose it.
Site equity refers to the fact that your old URLS have been around longer and thus have had more time to drum up page authority and traffic. You don’t want to lose that when you migrate your site. Essentially, you want to make sure your new URLs (if applicable) reroute from your old URLs so no pages are lost or dead-end with a 404 error.
Pro tip: When you’re working on a site migration, it’s wise to execute and test everything in a staging environment before it goes live on your actual website. Sites like WordPress can walk you through the creation of production, staging and development environments.
During the site migration
As you migrate your site, be sure to implement your comprehensive list of 301 redirects. Moz explains that, when the new site URLs are different from the old site URLs, 301 redirects “tell search engines to index the new URLs as well as forward any ranking signals from the old URLs to the new ones.”
You need to use permanent 301 redirects if your site migration entails:
- Moving to or from another domain or subdomain
- Switching from “http” to “https”
- Parts of the site being restructured in some way
Next, you’ll want to update all of the canonical tags on your new, old, and other sites, if applicable. If your site has a page that can be accessed via multiple URLs, Google will view this as duplicate content — that’s where canonical tags come in.
According to Google, the search engine’s bots “will choose one URL as the canonical version and crawl that, and all other URLs will be considered duplicate URLs and crawled less often.” So make sure the canonical URL you’re directing to is the one that already has the most site equity.
Pro tip: Google offers a Change of Address Tool for sites migrating from one domain or subdomain to another. However, this isn’t the tool to use for changing from “http” to “https,” redirecting pages on your site, removing “www” from your domain, or moving without making user-visible URL changes.
Additional steps to take during the migration process
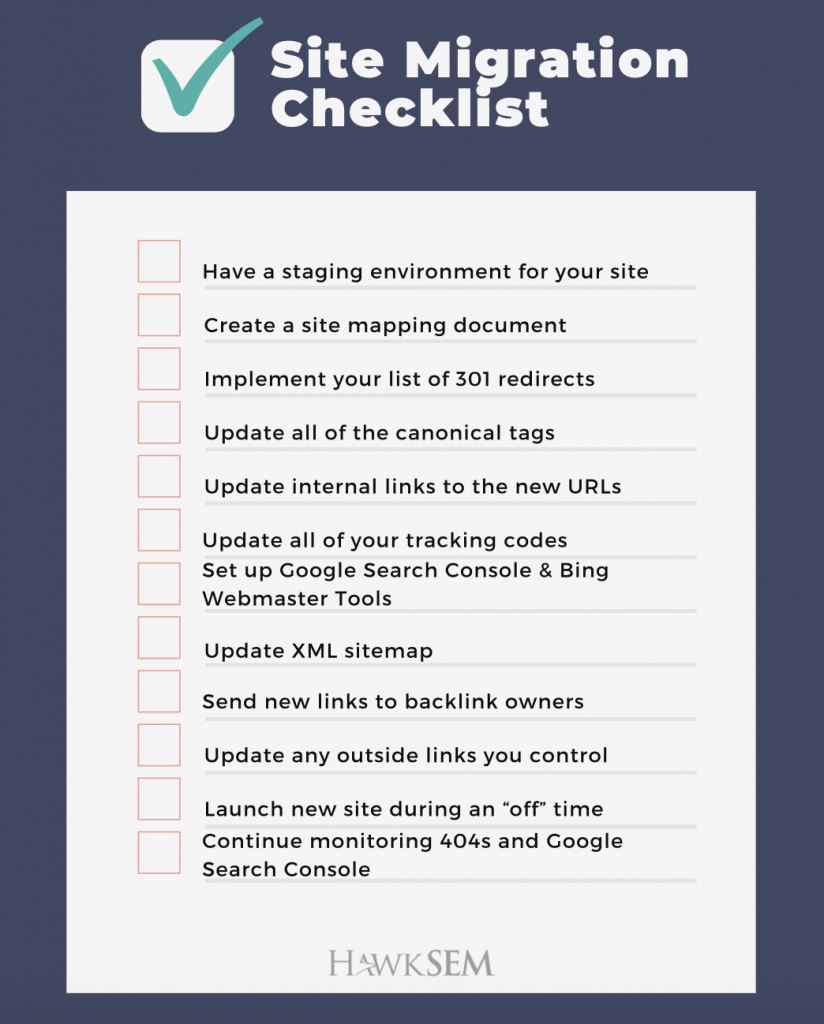
Along with the above, don’t forget to complete this site migration checklist:
- Update all of the internal links on your sites so that they point to the new URLs.
- Update all of your tracking codes.
- Set up Google Search Console and Bing Webmaster Tools for your new site (if applicable).
- Update your XML sitemap (if you don’t have a plug-in that will create it automatically) and submit the sitemap to Google and Bing.
- Reach out to the owners or editors of any high-value backlinks and ask them to update the link.
- Update outside links you control, such as Google My Business, social profiles, analytics, and anywhere there are citations, NAP (name, address, phone number) listings, or links back to your site, so they point to the new URLs.
Pro tip: Launch your new site during an “off” or slow period of time, if you can. That way, your team can test out all the live links and address any issues quickly before customers and prospects see them.

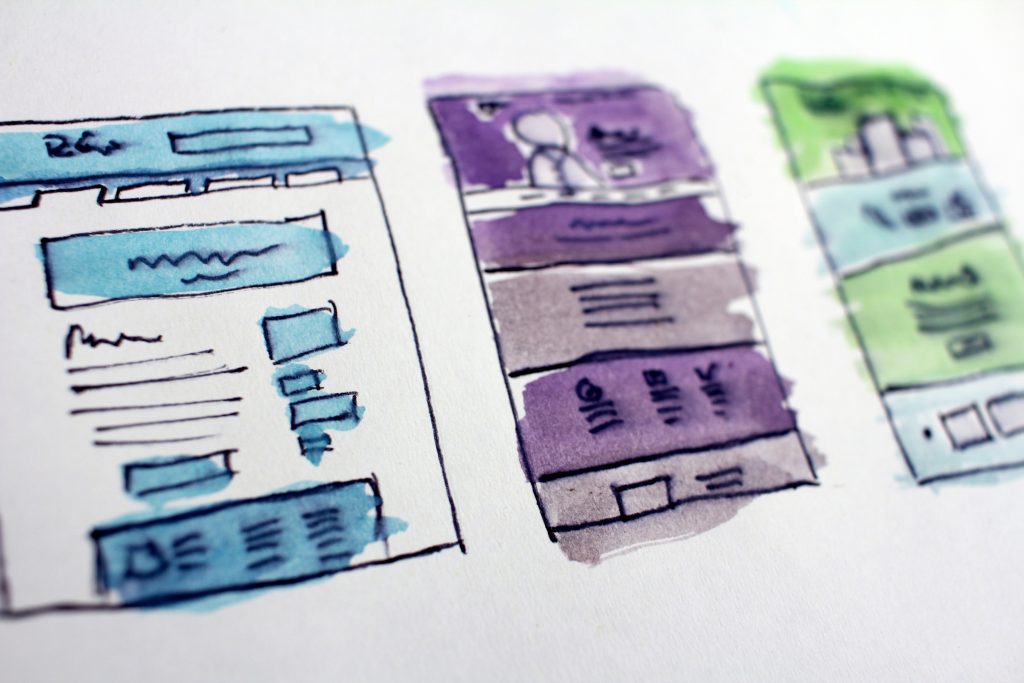
There are endless reasons why site owners may see SEO changes after migrating a site, regardless of the type of migration. (Image via Unsplash)
After the site migration
Finally, the finish line! Once you’ve successfully moved over your site content, tweaked it all in a staging environment, and followed the steps above, it’s time to launch.
After your new site is up and running, it’s a good idea to continue monitoring 404s and Google Search Console to make sure everything is tracking properly. You also want to monitor your rankings. If you migrated and, after a few weeks, your rankings aren’t where they were (or better), it’s time to conduct an SEO audit and see what might’ve gone awry.
Looking to up your SEO game? Check out our guide: 10 Quick Tips to Improve Your SEO Today.
How to avoid a drop in SEO after a migration
No matter how thorough you are with your site migration, it’s still possible to see a dip in your SEO performance. Jessica explains that there are endless reasons why site owners may see changes after migrating a site, regardless of the type of migration.
A big part of this is because the Google algorithm is wary of big site changes, so you’ll almost always see a dip after migrating while Google reassesses. If you’re migrating to new URLs, you may also lose some equity through redirection.
To ensure your SEO suffers as little as possible, avoid these common site migration mistakes:
- Waiting too long to start the site migration process
- Launching before you’re ready
- Not comprehensively redirecting the proper way
- Not updating canonical tags
- Deciding to launch new sites that are not as optimized as the old sites
- Not making a copy of the old site
- Failing to transfer your disavow file that tells Google which of your backlinks should be ignored
- Not completing and saving a crawl for reference (you can crawl your site with a tool like Screaming Frog or Sitebulb)
Website crawler tools allow you to crawl your websites’ URLs to better analyze and audit your technical and onsite SEO.
Don’t be afraid to consult a professional
It’s natural to be overwhelmed by the idea of a site migration. After all, it’s an involved project with a lot of moving parts. While we’ve laid out the main elements of a site migration, much more goes into it along with the above.
If it seems like too much to take on, we suggest consulting an experienced professional who can ensure your migration goes smoothly.
The takeaway
Planning and preparation are the most important phases of a successful site migration. Along with this, it’s key to remember that SEO is part of every page, and it should be one of the first things you consider during a migration.
Give yourself peace of mind during a site migration by following every step necessary to ensure you don’t lose site equity, and keep a record of everything you do and need to do during the process. (Better yet, consider giving the job to a pro who can work with you to ensure the migration is a success.) Happy launching!
Want more? Click to download our easy-to-follow site migration checklist.
This article has been updated and was originally published in January 2020.